Upgrading Car Radio
"Spotify take the wheel!" with a custom 3.5mm jack.
My brother and I share our grandmother’s old car—a beautiful Renault Mégane 2.0 from 1998. It’s a classic in its own right, with its nostalgic design and smooth handling, but when it came to entertainment options, we were limited. The car only supported radio or cassette tapes, and while there’s something charming about listening to old tapes, we both longed for a way to play our own music on the road. We didn’t want to rely on outdated technology or expensive radio transmitters with poor sound quality, so we set out to modernize our driving experience with a simple, yet effective, DIY solution. Thus, a new project was conceived.

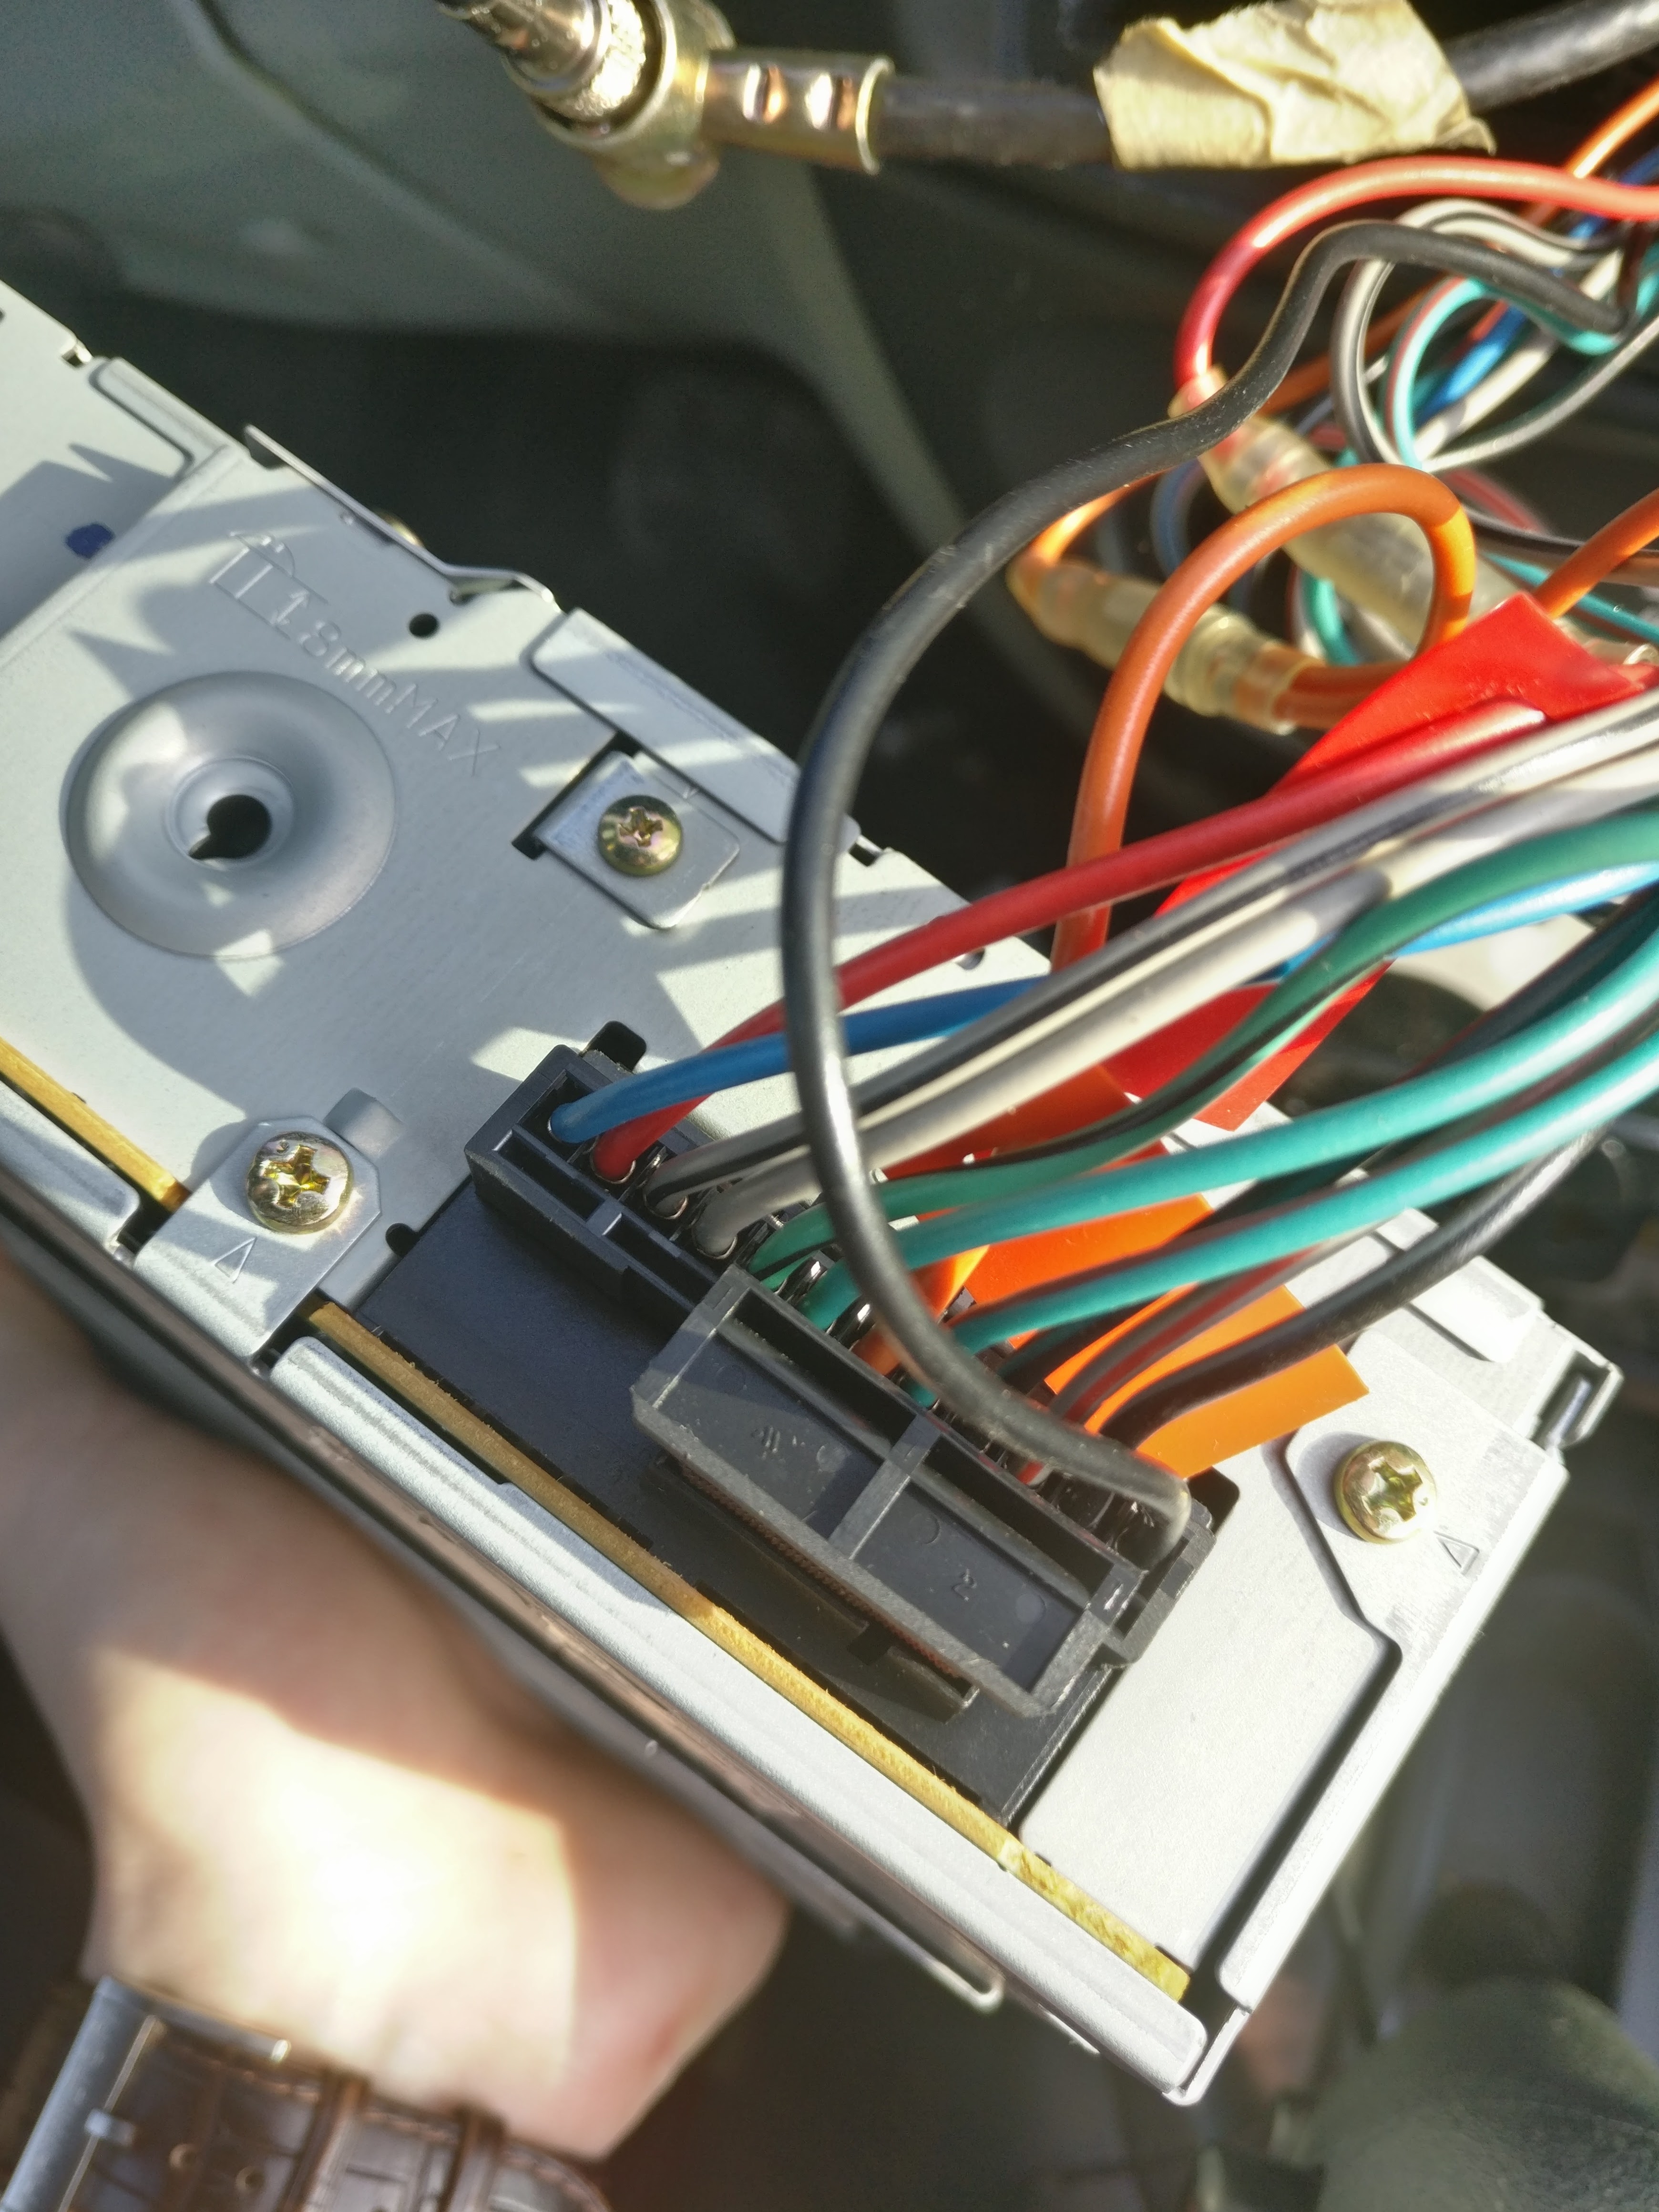
IAfter some discussion and research, I decided to tackle the problem by modifying the existing car radio. The first step was to remove the car radio from its socket, which allowed me to inspect the model type and get a closer look at the internal components. I was a bit apprehensive about taking apart a piece of hardware that was so integral to the car’s original design, but the excitement of the project kept me going. Once I had the radio out, I did a quick search online and was pleasantly surprised to find that, despite the age of the vehicle, there were still detailed manuals and schematics available. Companies from that era were much more generous with providing in-depth electronic schematics for their products, which was a real boon for DIY enthusiasts like me.


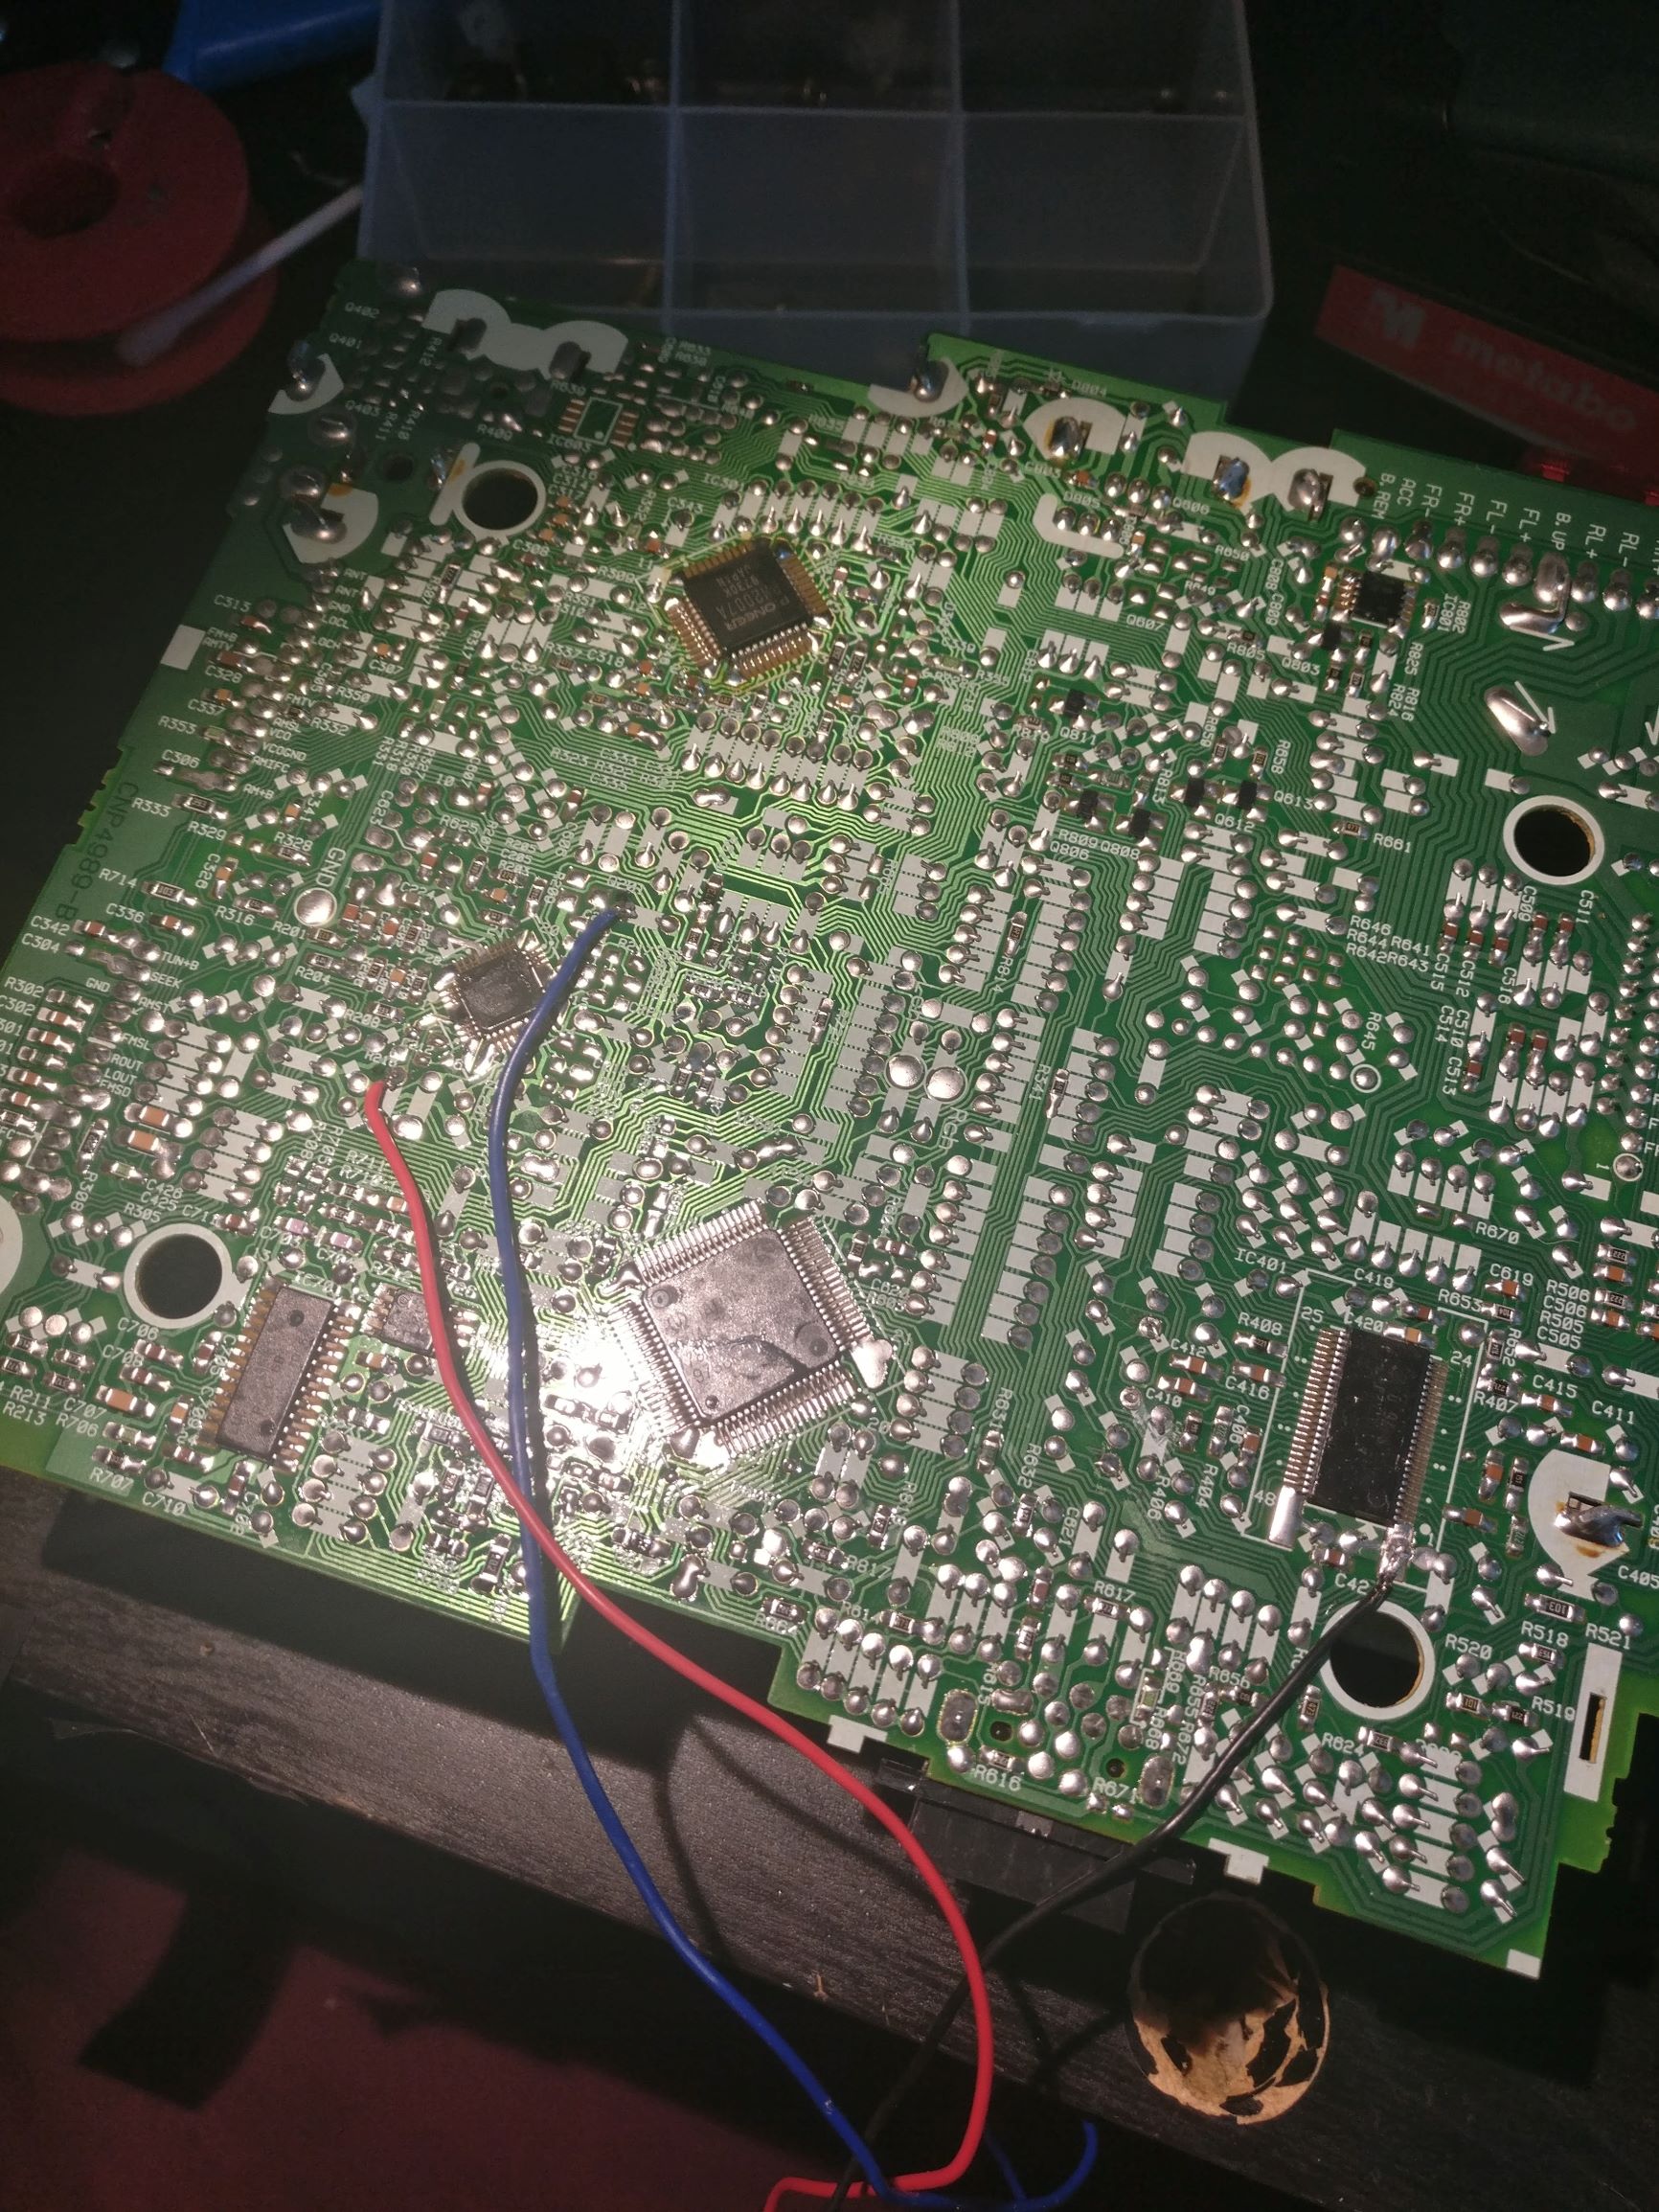
With the manual in hand, I spent some time poring over the schematics, trying to understand the layout of the radio’s internal circuitry. The key was to locate the cassette player amplifier, which I knew would be the perfect entry point for my modification. The amplifier was responsible for boosting the signal from the cassette before sending it to the car’s speakers, so by tapping into this component, I could ensure that any audio source I connected would be amplified correctly. This was crucial for maintaining sound quality, as I didn’t want the audio from my phone to sound weak or distorted. After carefully tracing the circuit paths, I finally identified the exact points where the left and right audio channels, as well as the ground, were connected to the amplifier.

With the schematics in mind and a clear plan of action, I got to work soldering a 3.5mm female port parallel to the cassette input. This involved carefully attaching the red and blue wires for the left and right audio channels and ensuring the black ground wire was securely connected. I took my time with the soldering to make sure the connections were solid and that there were no shorts or loose wires that could cause problems later. After everything was in place, I carefully drilled a small hole in the corner of the radio’s front panel to mount the 3.5mm jack. I wanted the final product to look as clean and professional as possible, so I made sure the jack was snugly fitted and didn’t detract from the radio’s original aesthetics. The end result was a discreet modification that looked like it could have been a factory feature.
Update 2021
Since completing the project, the custom AUX port has been a fantastic addition to the car. It has allowed my brother and me to listen to countless hours of music, podcasts, and even audiobooks during our drives. The sound quality is excellent, and the whole setup has proven to be incredibly reliable over the years. It’s a small modification, but it has made a huge difference in our enjoyment of the car. Despite the passage of time and the wear and tear on the vehicle, the AUX port has held up remarkably well.
Update 2022
Unfortunately, all good things must come to an end. In 2022, after many years of faithful service, the car finally gave out. But even though the Renault Mégane is no longer with us, the memories of the music and moments we shared in it will always be cherished. The radio, with its custom AUX port, outlived the car itself, a testament to the durability and quality of our little DIY project.